Why you need a staging environment
Moving fast should not mean breaking things for your users. While testing on localhost is a good start, you need a near identical replica of production to catch any bugs before your code goes live. That is where a staging environment comes in. Heroku pipelines handle the infrastructure layout for you, keeping your deployment workflow clean and automated.
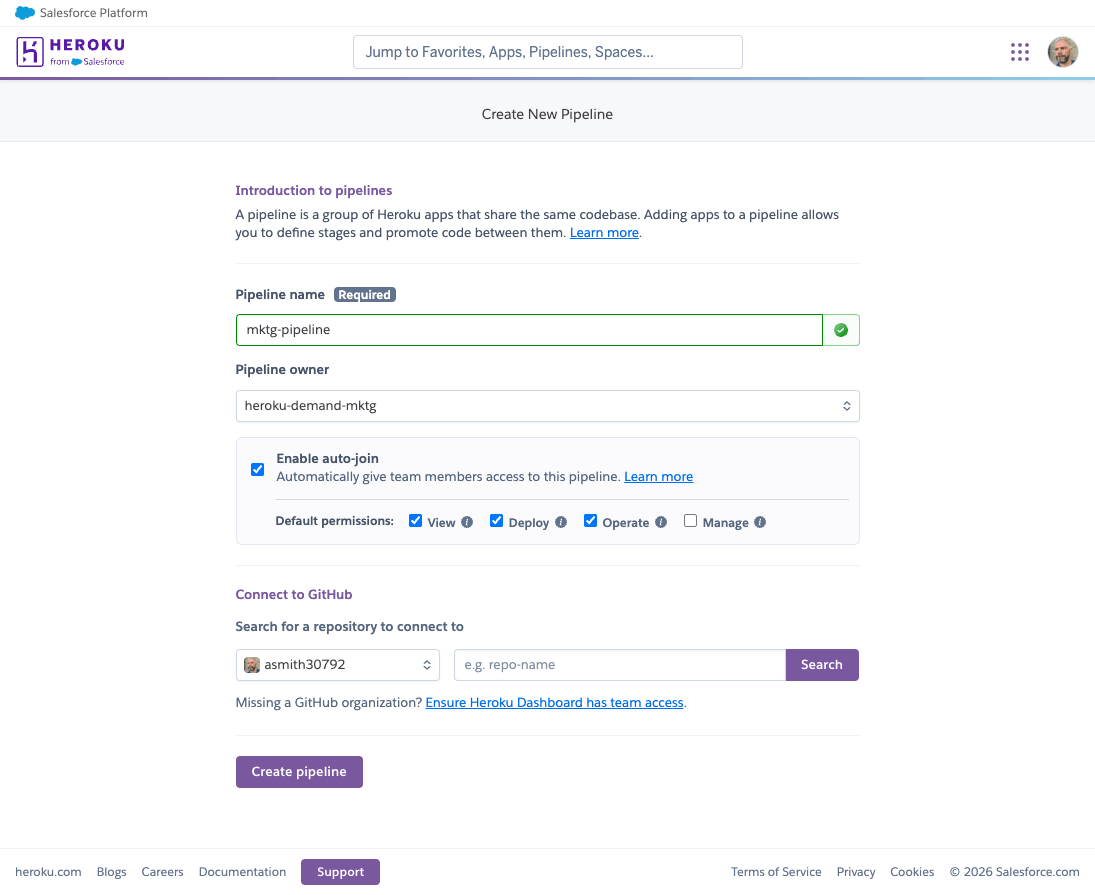
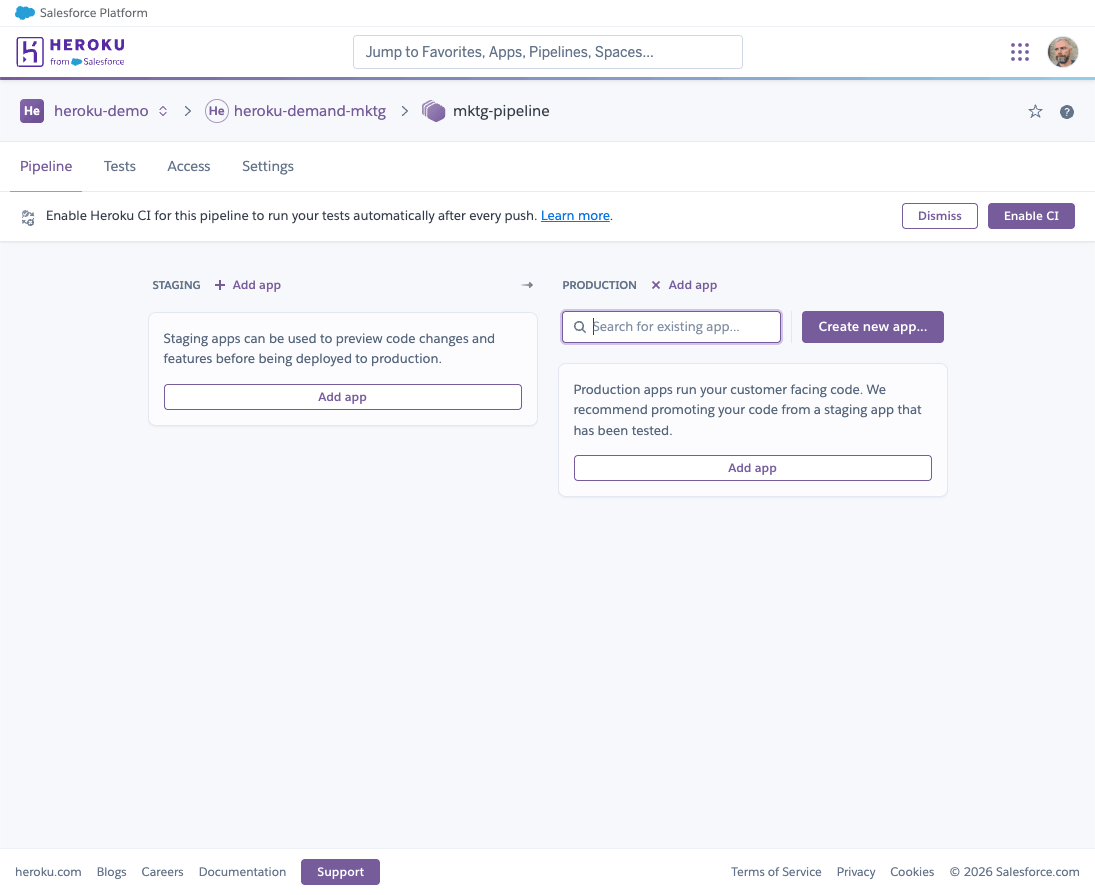
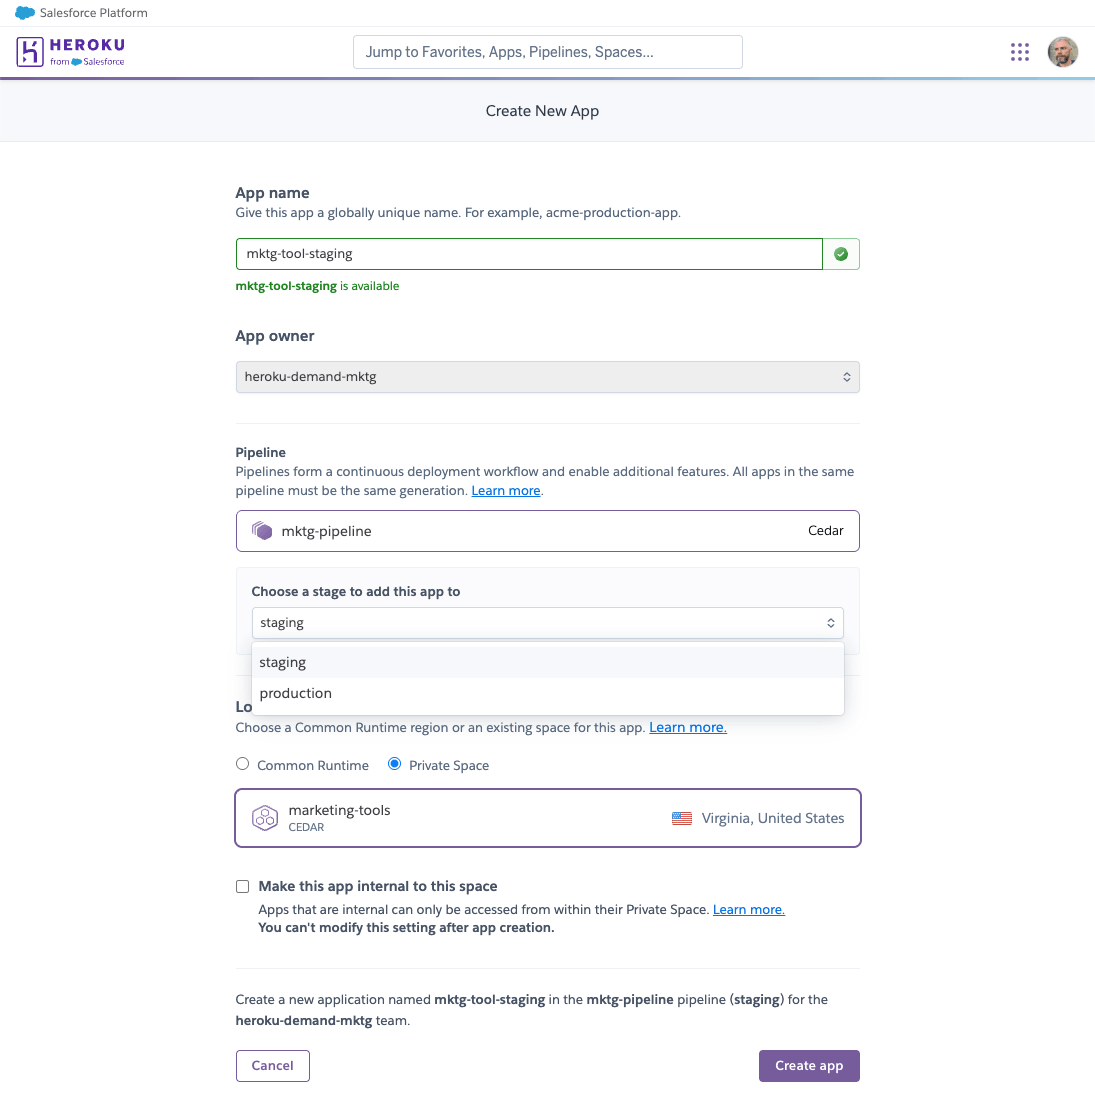
Step 1: Create your pipeline and staging app
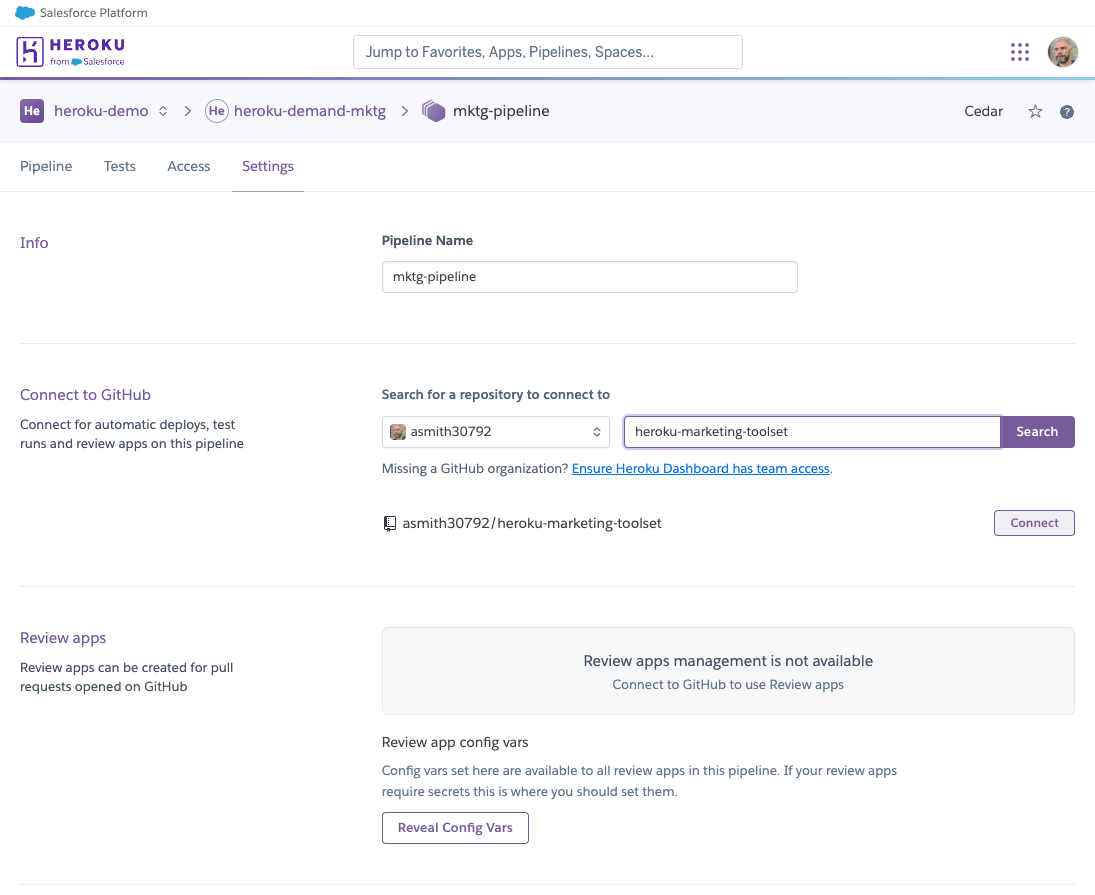
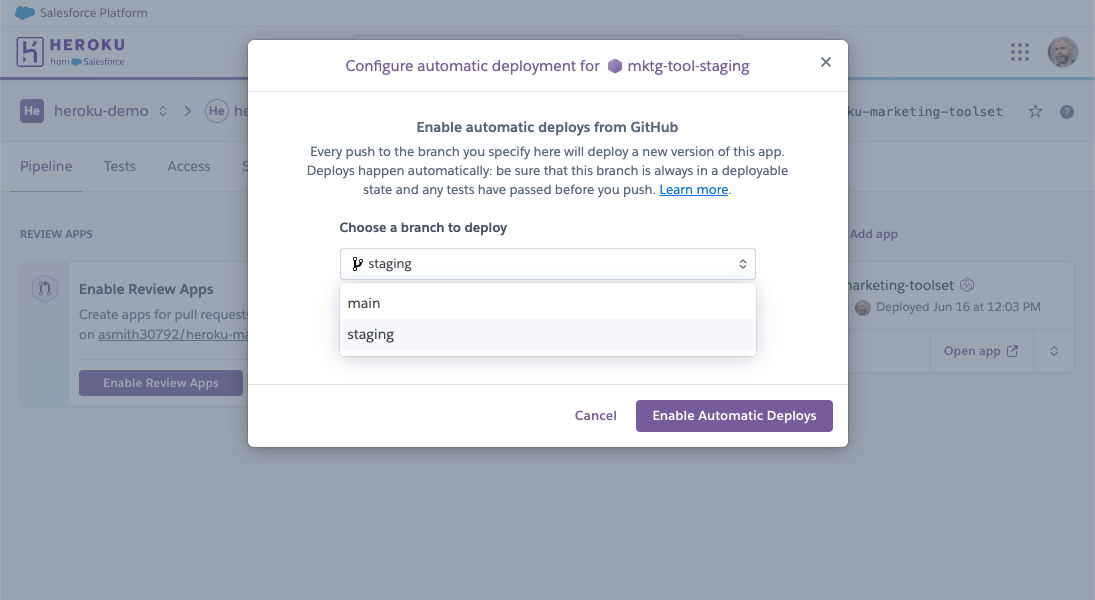
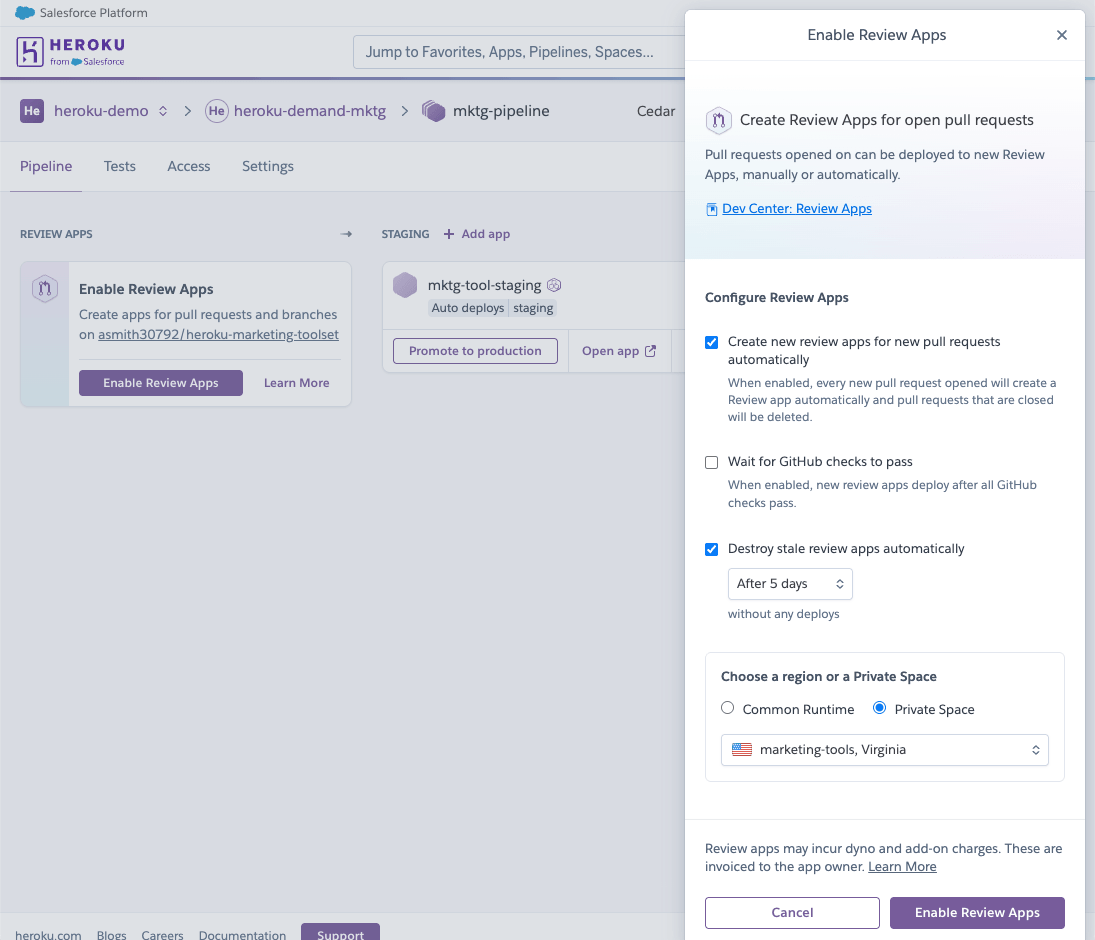
Most developers start with a single Heroku app connected to GitHub, where pushing to your main branch deploys straight to production. Moving to a continuous delivery (CD) workflow means breaking this direct path. Grouping your environments into a pipeline lets you intercept those automated updates, allowing you to test code within an isolated boundary before it ever impacts your users.
Every git push builds on staging first under this setup, leaving production untouched. This release process catches environment issues before they impact production.…